|
Introduction
Schedule Manager is a tool which will allow scheduling the program to be
automatically executed at repeated intervals as defined by the user.
It also allows to view, modify, and delete existing scheduled jobs.
Starting
Schedule Manager
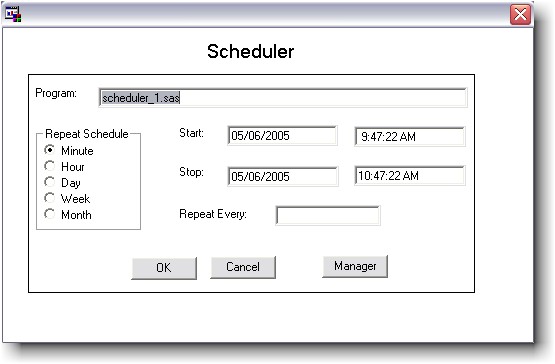
This tool is started by right mouse clicking on any SAS program
within Windows Explorer and selecting "Schedule". From the Scheduler dialog and click on the
Manager button. This will open the Scheduler Manager dialog.
 Schedule
Manager Dialog

- Scheduled Programs : list of
all programs which has been scheduled.
- Add New : Open the Add New Job
dialog to schedule new programs.
- Modify : Open the Modify
Scheduled Job to modify the scheduled job of the selected program.
- Delete : Delete the scheduled
job of the selected program.
How to:
Adding
New Scheduled Jobs
To use this function, click on the Add
New button on the Scheduler Manager dialog.
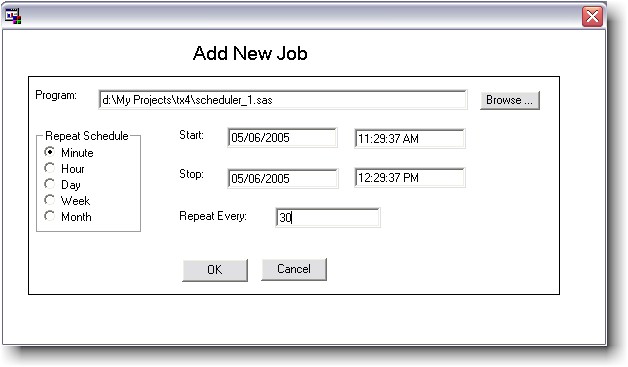
- Click on the Browse... button to open
File Selection dialog.
- Select the SAS program you want to
schedule.
- Enter schedule information.
- Click on the OK button to save the job
or click on the Cancel button to go back the Schedule Manager dialog
without saving the job.
Modifying
Scheduled Jobs
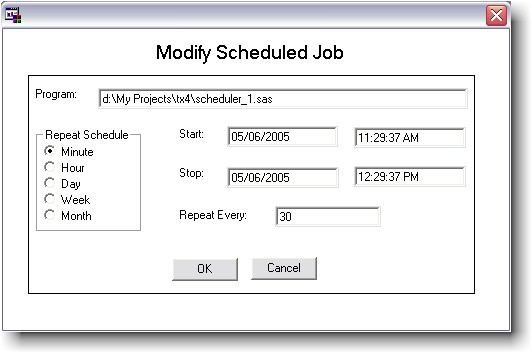
User modify schedule information and then
click on the OK button to update the job.
User can click on the Cancel button to go
back to the Schedule Manager dialog without updating any information.
Deleting
Scheduled Jobs
From the Schedule Manager dialog, select
the program that you want to delete the scheduled job and click on the
Delete button.
A confirm dialog box will be
displayed.

You click on the OK button to do the
deleting or click on the Cancel button to cancel the action.
 |
The scheduler works with
WinCron which is a
scheduler that needs to be running in order for scheduled jobs
to be executed. |
|